Free Pattern: Easy Velvety Soft Santa Mittens

Andrea

The other day my husband was saying that we were missing Santa hats in our household - that we didn't have even one and that we should get one. Of course I agreed and thought what better way to get one in the house than make one. Did I make one? No! Of course not! That would actually make sense. Haha!
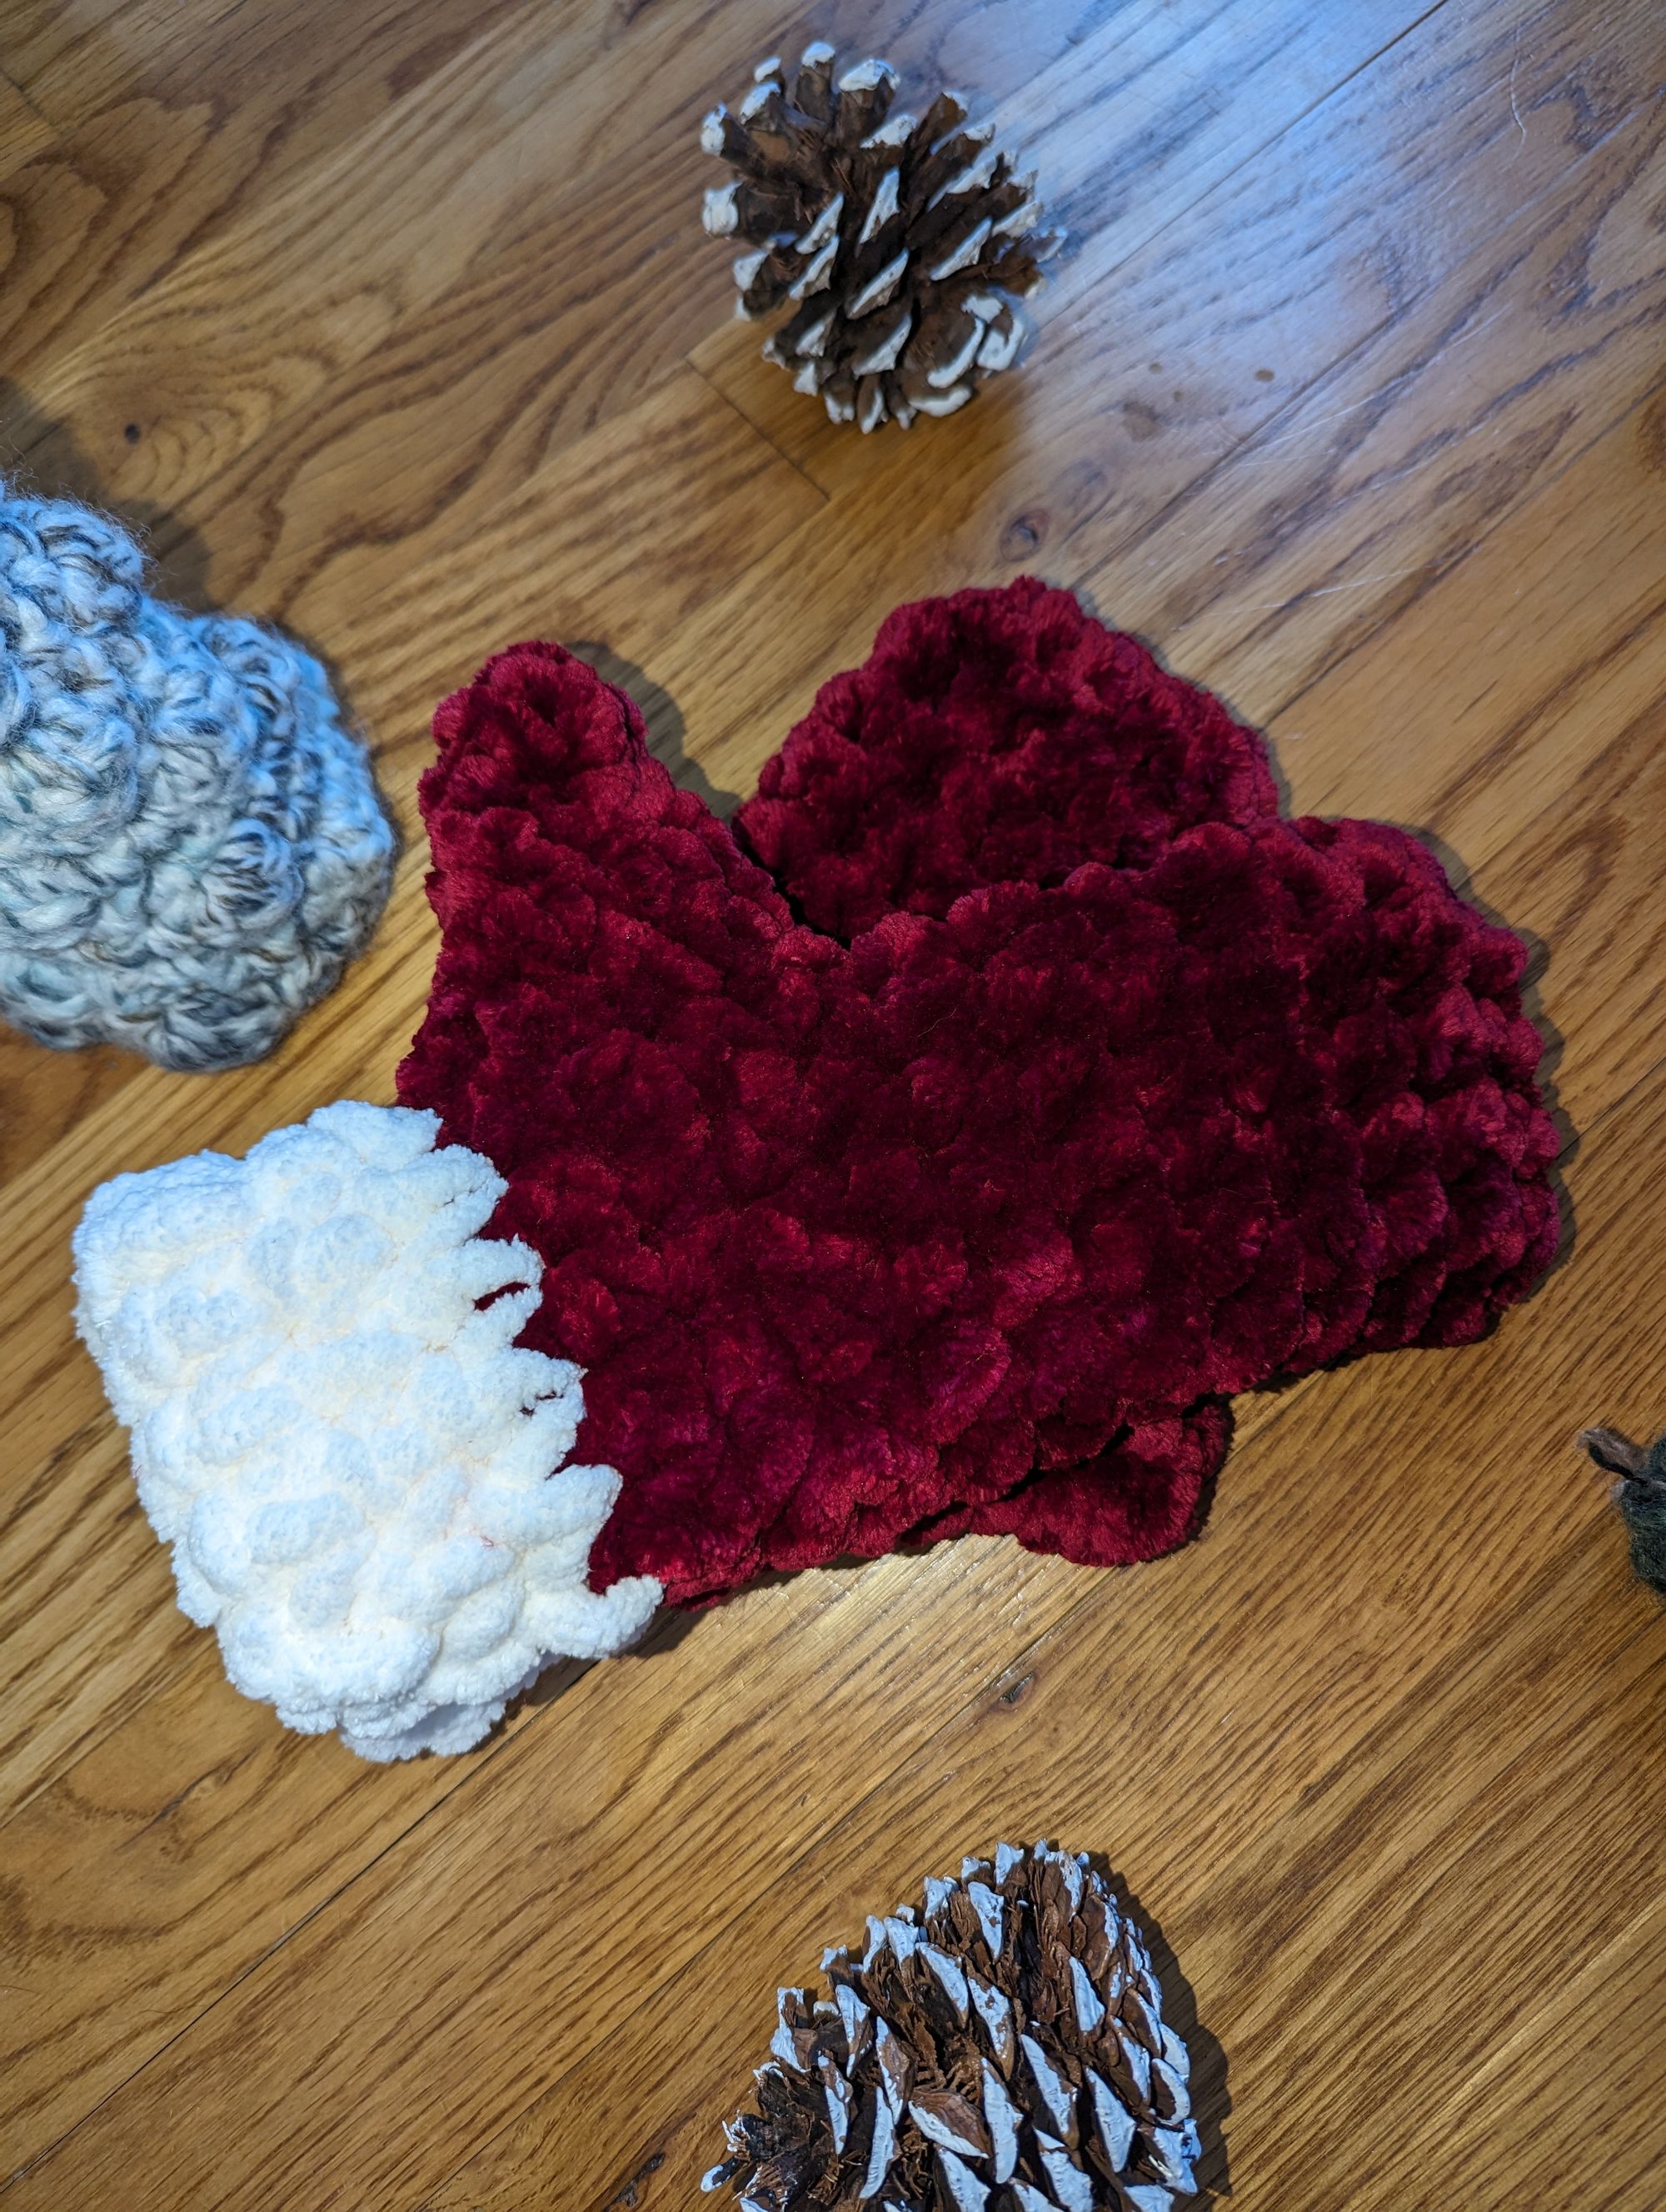
Instead I made mittens and I wrote a pattern for them! These mittens are made from super soft velvety yarn and Bernat blanket yarn which both by themselves are dreams. Together they are warm and silky smooth.
Does this mean I won't make a Santa Hat? Heck no! I plan on making one just as soon as I go get some more of that beautiful velvet yarn. I ran out making these mittens. Make sure you subscribe so that you don't miss out when I post that free pattern!
If you would like to grab an ad-free PDF version including all sizes of this pattern I have included links below. Pattern below is written for a size SMALL hand.
** To adjust sizing, increase stiches on each row by -1, (2, 4, 6) for XS, (M, L, XL)
Materials:
230 grams of Royal Velvet in Wine Red (Jumbo)
100 grams of Bernat Blanket Extra Yarn in Vintage White (Jumbo)
Abbreviations Used: (US Terms)
ch | Chain |
rep | repeat |
sc | single crochet |
sl st | slip stitch |
st | stitch |
tog | together |
EASY SANTA MITTENS
EXTRA VELVETY SOFT
Hand, starting at fingertips
Make 2 for a matching pair.
Starting with the Royal Velvet yarn.
Row/Round 1: Ch 5
SC in first ch from hook, 3 SC, SC in same stich. Working opposite side of chain, SC 5, sl st to first sc
2: Ch1, SC 11, sl st
3-6: Repeat until piece measures desired length for fingers. Mine measured 5 inches for size small. (row 3, 4, 5,6)
7: 10 SC, ch1 turn</p>
5: 11 SC ,ch1, turn</p>
6: 10 SC, ch 1, turn</p>
7: 11 SC, ch1, sl st changing color , ch1, continue round (do not turn)
**Do not cut main color. This will be worked later. Just drop the yarn.
8-9: 11sc, sl st, ch 1
** Cut yarn. Secure and weave
Thumb
11: Pick up main color and sc around hole 10sc, sl st
12: SC through the 10th and 1st stitches, SC through the 9th and 2nd stitches, then beginning in stitch 3 (place stitch marker in 3rd stitch) sc in each stitch through stitch 8 (place stitch marker in stitch 8), sl st
13: SC through stitch 8 and the SC stitch made in the last row's 3rd stitch (through the stitches that were marked), sc in remaining 4 stitches marking the first and last stitch, sl st
14: Ch1, SC together the marked stitches , SC 2 remaining stitches , sl st
** Cut and Secure then weave in tail.
That's it! I hope you enjoyed this pattern. Please let me know how it goes for you! I would LOVE to see your finished products. Tag me on Instagram or Facebook.
Remember if you loved this pattern please don't forget to subscribe so that you never miss a new design. As always, Happy Crafting!

